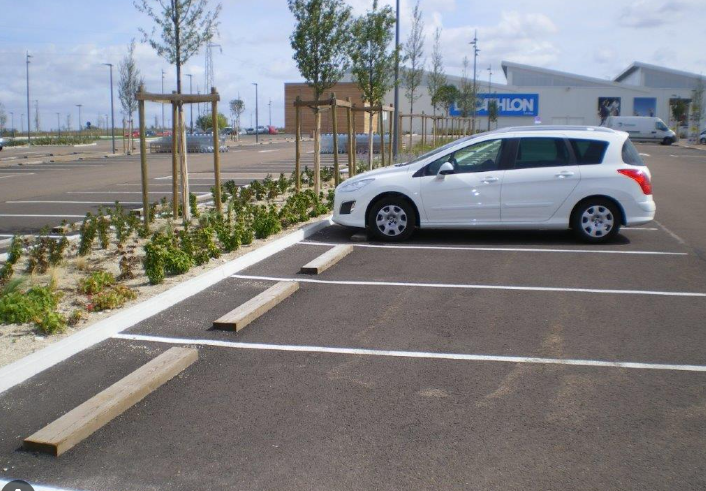
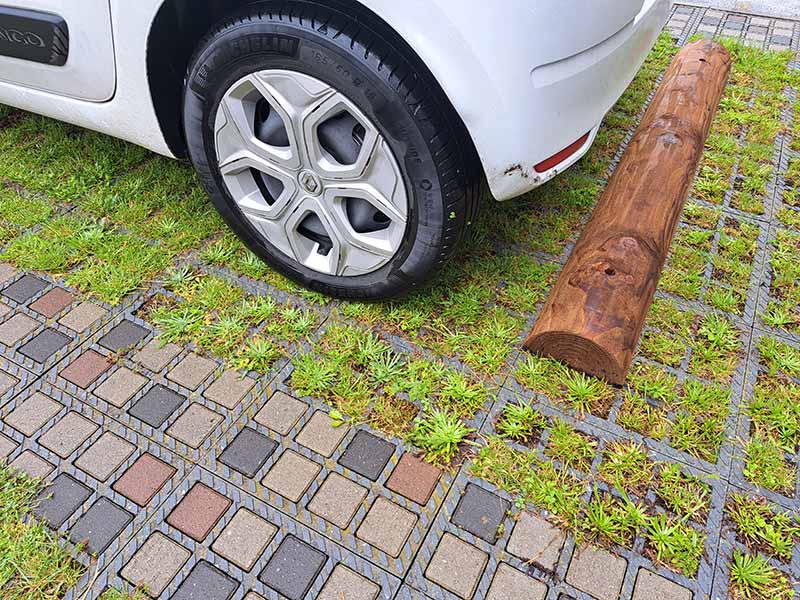
Installing a parking stop is a simple and effective way to secure parking spaces and reduce the risk of collisions. Placed on the ground, this device marks a boundary that must not be crossed and helps drivers position their vehicles correctly. It thus helps protect walls, equipment, and parked vehicles, while making it easier to maneuver in parking spaces.
However, to ensure its effectiveness and durability, a parking stop must be installed according to best practices. The choice of mounting method depends largely on the type of surface, while its location must be adapted to the size of the vehicles and the layout of the parking area.
Whether it’s an outdoor parking lot, a private garage, a condominium, or a commercial area, find out how to install a parking bumper and what precautions to take to ensure a reliable and durable installation.
Why Install a Parking Bumper?
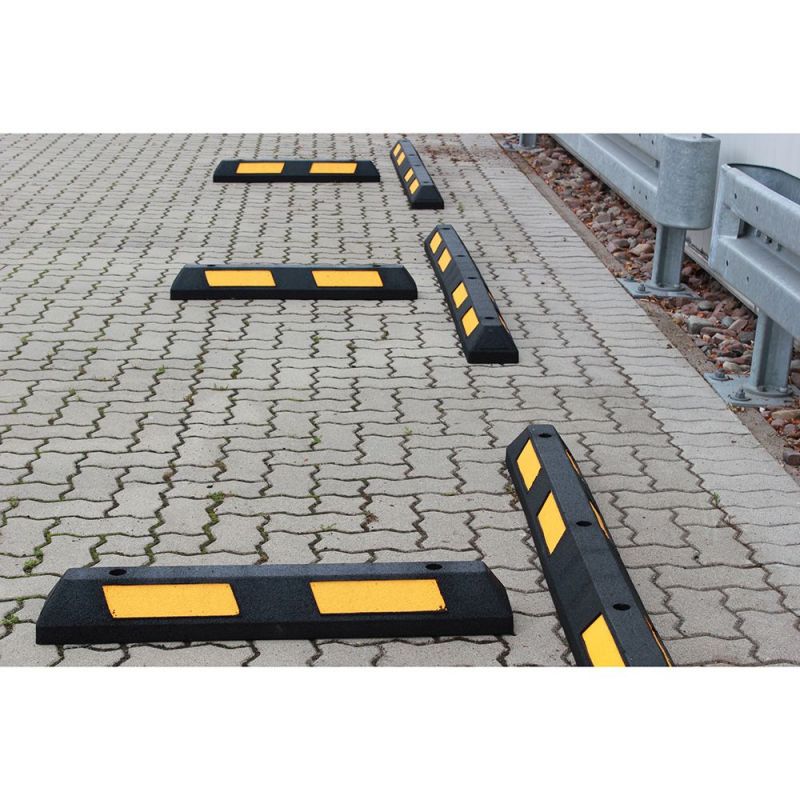
A parking stop, also known as a wheel stop, helps define a parking space and makes it easier to position vehicles. It serves as a physical marker that helps drivers park their vehicles in the correct spot without exceeding the designated boundaries.
Installing them offers several benefits for individuals, businesses, and parking lot managers alike.
Protecting Walls and Infrastructure
In an underground parking garage or a parking structure, maneuvering can be tricky, especially when space is limited. A parking stop prevents the vehicle from moving too far forward and reduces the risk of colliding with a wall, partition, or post. It thus helps prevent damage and limit repair costs.
Protecting Vehicles and Equipment
By marking a stopping line, the bumper helps prevent contact with vehicles parked in adjacent spaces, electric charging stations, barriers, or other nearby equipment. It is particularly useful in parking lots where spaces are narrow or where sensitive equipment is located near traffic areas.
Improving Parking Organization
Parking stops also help standardize vehicle positioning and maintain consistent alignment of parking spaces. They are useful in company parking lots, condominiums, public facilities, or logistics areas, where well-organized spaces facilitate traffic flow.
To fully benefit from these advantages, it is essential to select a parking stop suitable for its environment and to choose an installation method compatible with the floor surface.
Choose a Parking Stop and Mounting Method Based on Your Floor Type
Before installing a parking bumper, you should determine the type of surface. Whether it’s concrete, asphalt, soil, or a surface requiring installation without drilling, each configuration requires specific precautions.
The choice of model also depends on the intended use. A parking bumper intended for a private parking lot does not necessarily meet the same requirements as one installed in a communal parking lot or a commercial traffic area. Mechanical strength, dimensions, visibility, and compatibility with the mounting system must therefore be taken into account.
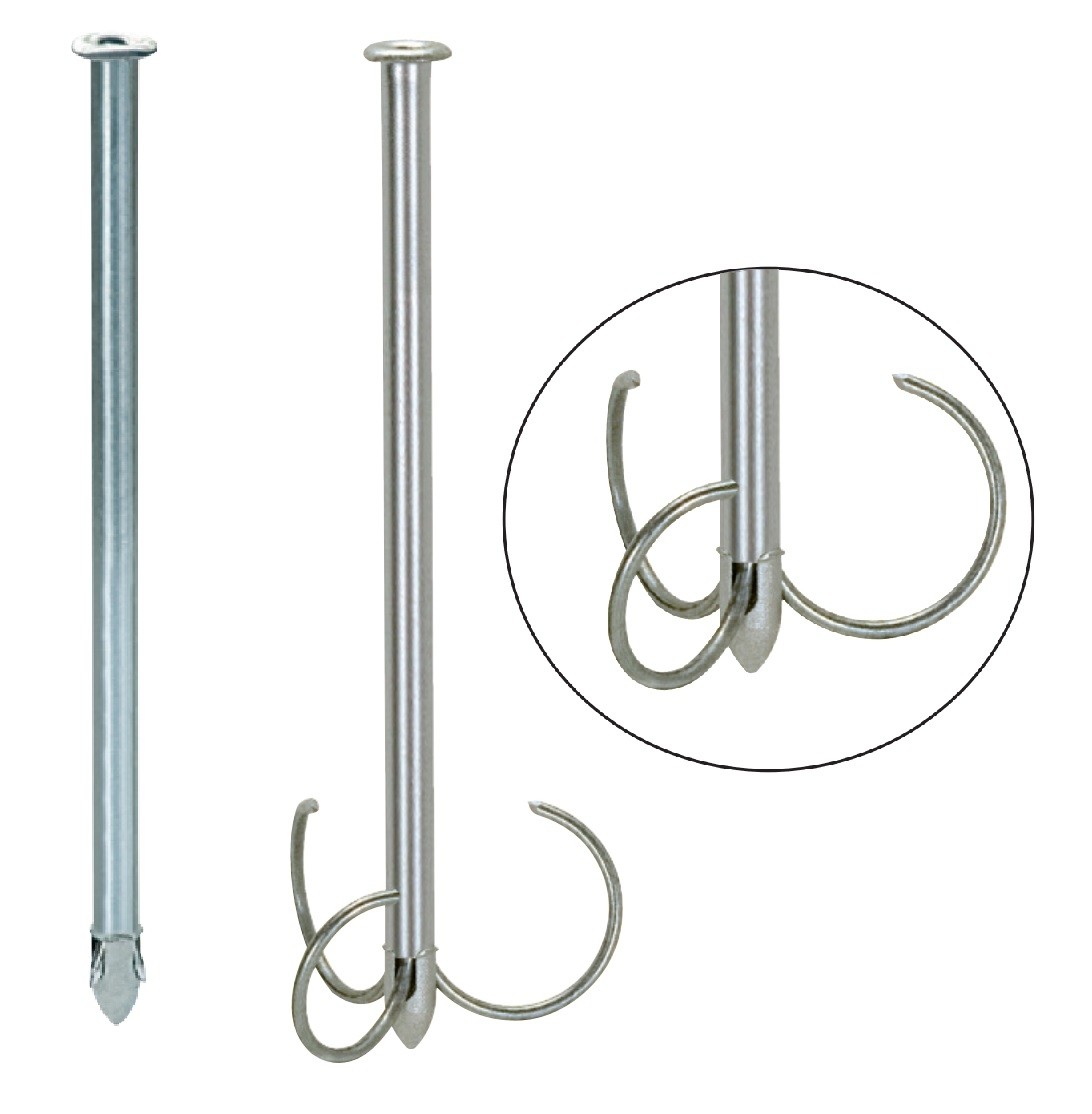
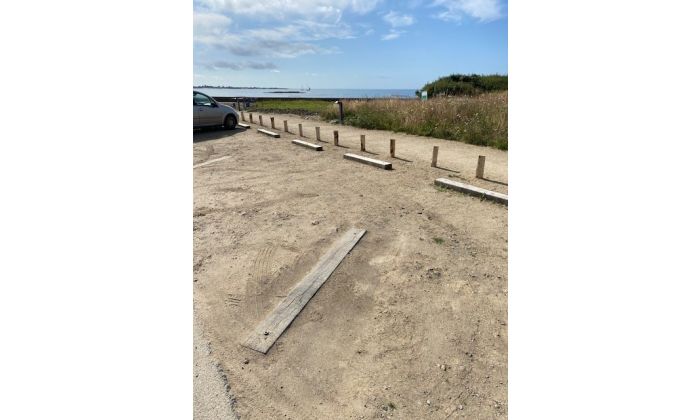
For a parking lot located on a green roof, securing a parking bumper requires a solution adapted to the nature of the terrain. The Fenox percussion anchor is ideally suited for anchoring certain equipment in loose soil, provided its compatibility with the parking bumper and the usage requirements is verified. Its percussion installation method allows it to be driven directly into the ground without always requiring prior drilling. This solution can simplify installation on natural surfaces, particularly when the goal is to minimize groundwork. Before installation, however, it is essential to verify the soil composition and stability, as well as the length and strength of the anchor.
Concrete surfaces: expansion anchors, studs, and lag screws
Concrete is a suitable substrate for the mechanical installation of parking stops, provided it is sufficiently strong and in good condition.
Several solutions can be used depending on the design of the bumper and the manufacturer’s recommendations:
Expansion anchors securely hold the fixture in place in suitable concrete. They are appropriate when the installation system calls for this type of anchoring.
Anchor bolts provide a robust mechanical fastening. They are particularly useful when the parking bumper must withstand the repeated stresses associated with parking.
Lag screws, typically used in conjunction with an anchor system or a device designed for this purpose, can be used on certain compatible models.
To ensure a reliable installation, follow the recommended drill hole diameter and depth, as well as the dimensions of the anchors. It is also important to check the condition of the concrete and ensure that no underground utilities or equipment are at risk of being damaged during drilling.
Asphalt Pavement: Special Anchors for Asphalt
Asphalt, frequently used for outdoor parking lots, requires special attention. Unlike concrete, this surface is more flexible and can deform under the effect of loads, temperature fluctuations, and ground movement.
Conventional expansion anchors designed for concrete are therefore generally not suitable for this type of surface.
It is preferable to use anchors specifically designed for asphalt, compatible with the bollard and the site’s conditions. The choice of anchor depends, in particular, on the thickness of the pavement, the quality of the base layer, and the nature of the loads to which the bollard will be subjected.
Before installation, check that the asphalt does not have any significant cracks, sunken areas, or damage that could compromise the anchor’s stability. If the substrate is too fragile, repair work or an alternative solution may be necessary.
For parking lots subject to heavy traffic, it is particularly important to follow the manufacturer’s recommendations to ensure the bollard’s long-term stability.
Drill-Free Installation: Resin Bonding for Compatible Models
When drilling into the floor is undesirable or not possible, bonding can be a viable alternative. This method is particularly suitable for certain models of parking bumpers compatible with resin or technical adhesive mounting.
It avoids drilling into the flooring and minimizes disruption to the substrate. However, it is not suitable for all parking stops or all surfaces.
To ensure proper adhesion, the floor must be clean, sufficiently dry, stable, and free of dust, oil, or residues that could compromise the bond. The resin must also be suitable for the bumper material, the type of surface, and the conditions of use, particularly outdoors.
Drill-free installation should be limited to configurations authorized by the manufacturer. In areas where vehicles exert significant force on the bumpers, mechanical fastening may be preferable.
Before choosing this solution, check the application conditions, permissible temperatures, and the product’s curing time. It is essential to allow the curing time to elapse before subjecting the bumper to any load.
Steps for Installing a Parking Bumper
A successful installation depends on three essential elements: precise positioning, proper surface preparation, and appropriate fastening. Here are the main steps to follow to install a parking bumper correctly.
Position the vehicle and mark the wheel locations
The first step is to precisely determine the stop’s location. To do this, park the vehicle in the designated spot, ensuring it is properly aligned and positioned as it would be during normal use.
Next, mark the position of the wheels and the distance to be maintained between the front of the vehicle and the obstacle to be protected. The goal is to allow the driver to stop the vehicle before the bumper or another part comes into contact with a wall, a bollard, or other equipment.
The positioning must take into account the dimensions of the vehicles that will use the space. If the parking lot accommodates several categories of vehicles, it is best to choose a layout suited to the largest vehicle, without compromising traffic flow or user safety.
Once the location has been determined, move the vehicle out of the way and verify that the bumper will not obstruct access to the parking space or pedestrian walkways.
Mark the mounting points and drill into the ground
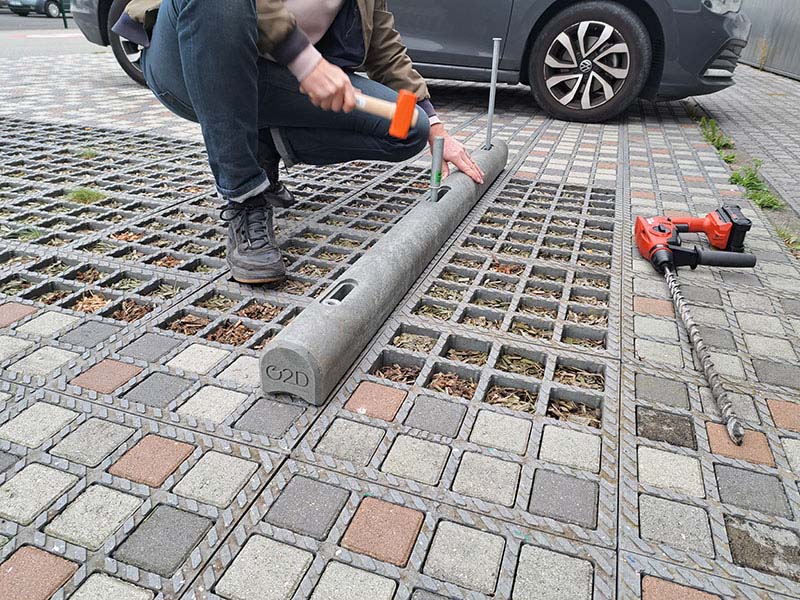
Place the bumper in the intended location, then use its mounting holes to mark the drilling points on the ground. Precise marking helps prevent misalignment and makes installation easier.
Before drilling, check the alignment of the barrier one last time and make sure the mounting surface is compatible with the chosen anchoring system.
For installation on concrete, use a hammer drill or a drill suitable for the material, with a drill bit of the diameter recommended by the manufacturer. Also ensure you drill to the depth required for anchoring.
After drilling, carefully remove any dust from the holes. This step is important to ensure the fasteners are properly seated and, if applicable, that a chemical anchoring system functions correctly.
On asphalt, follow the drilling and anchoring method specified for this surface. If the installation involves adhesive bonding, prepare the surface according to the resin manufacturer’s instructions.
Secure the stop, install the caps, and check its stability
Once the holes have been prepared, position the stop and install the appropriate fasteners. Gradually tighten the fasteners, following the manufacturer’s instructions to prevent them from loosening or damaging the product.
On some models, caps are provided to cover the mounting points. They improve the finish and can help protect the metal components from dirt and moisture.
Once installation is complete, verify that the stop rests properly on the floor, has no abnormal play, and is perfectly aligned. A visual and mechanical inspection allows you to quickly detect any installation defects.
If using resin for installation, wait for the product to cure completely before putting any load on the equipment. Finally, test the installation under real-world conditions, provided it can be done safely.
A properly installed parking stop must remain stable and fulfill its function without obstructing vehicle movement or posing a risk to pedestrians.
Tips for Properly Positioning a Parking Bumper
The quality of the mounting alone is not enough to guarantee the effectiveness of a parking bumper. Its location also plays a crucial role in safety and ease of use.
Adapt the location to the size of the vehicles
The distance between the bumper and the edge of the parking space must be determined based on the vehicles likely to park there. A parking stop placed too close to a wall may cause contact with the bumper, while one placed too far away risks allowing the vehicle to protrude into a traffic lane or pedestrian walkway.
For parking lots accommodating different types of vehicles, take into account the length, width, and front overhang of the models with the most restrictive dimensions. Commercial vehicles, SUVs, and cars equipped with a tow hitch may require special attention.
The goal is to find a space that allows for safe parking without endangering surrounding equipment. When multiple spaces are involved, it is advisable to establish a consistent layout for the entire parking lot.
Maintain the alignment of parking spaces and ensure good visibility
In a shared or commercial parking lot, parking stops should be evenly aligned to facilitate parking and maintain a clear layout of the spaces.
Also ensure that the parking stops remain visible to drivers. Models equipped with reflective strips or contrasting colors are particularly useful in underground parking garages, dimly lit areas, and spaces where maneuvering is frequent.
Parking stops must not encroach on pedestrian walkways, obstruct door openings, or impede access to safety equipment. In an outdoor parking lot, it is also important to consider drainage and the condition of the pavement.
Finally, schedule periodic inspections to check that the fasteners are secure, assess the overall condition of the bumper, and ensure the signage is legible. Regular maintenance helps identify any damage and ensures user safety.
Beyond Parking Lots: Other Uses for Wheel Stops
While parking bumpers are primarily used to delineate parking spaces, they also have a place in many professional and residential settings.
In garages and condominiums, they make maneuvering easier, protect walls, and reduce the risk of contact with neighboring vehicles. They are particularly useful in tight spaces where the driver has limited visibility.
In warehouses and logistics areas, wheel stops can help mark specific boundaries for parking or vehicle positioning. However, the model must be selected based on the loads, the vehicles involved, and the site-specific constraints. Bumpers designed for passenger cars are not necessarily suitable for heavy-duty trucks or material-handling equipment.
When installed near electric charging stations, they help mark a stopping line to reduce the risk of collision with the equipment. Their placement must ensure access to the charging station, proper cable routing, and unobstructed user traffic.
In all these environments, the choice of product and mounting system must take into account the type of ground, the frequency of use, and the forces to which the bumper will be subjected.
Conclusion
Installing a parking bumper is a relatively simple process, provided that a few essential rules are followed. Choosing the right model, selecting a mounting system compatible with the surface, and positioning the equipment precisely are essential to ensuring a stable and durable installation.
Whether it’s a private parking lot, a condominium, a garage, or a commercial area, it’s important to consider vehicle dimensions, the layout of the space, and usage constraints before proceeding with installation.
To effectively secure your parking spaces, visit e-viti.com for mounting solutions and equipment tailored to your needs. By selecting the right products and following installation recommendations, you help protect vehicles and infrastructure while improving the organization of your parking areas.